
Table of Contents
When it comes to starting a new project, we should always create a Git repository so that we can easily track and review any code changes that occur. It also allows us to isolate a potential code change that caused an issue and revert back to the file version before the issue.
In further articles we will cover how to make use of branches and connecting to third party hosting services that will detect any pushes to a branch.
But the purpose of this article is to explain how to simply create a repository ready for your project.
In most cases we will be starting from scratch for a new project, which means we will need to simply create a new repository and it’s as simple as that. To do so you’ll need to complete the following steps:
Using The GitHub Desktop App #
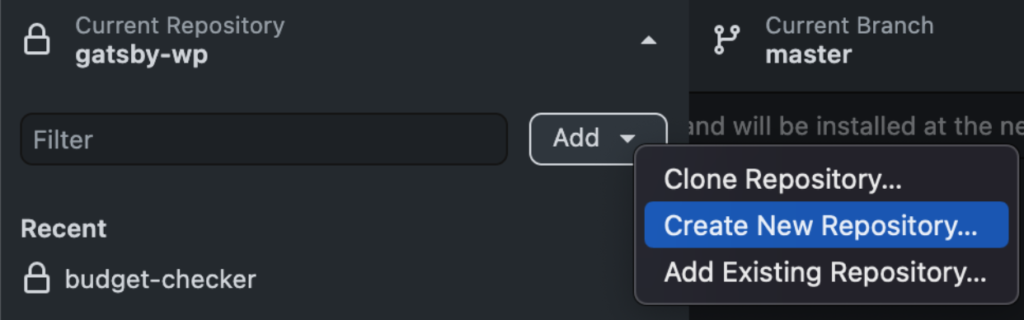
- First of all you need to click the repository information section in the GitHub App to open the repository sidebar

- Then click on the “Add” button and select “Create New Repository…”
- Now enter the desired repository name, typically this will be the website/company name that the website is for.
- Then using the “Browse” button to find the location you’d like to create a new repository, typically we recommend having 1 folder on your desktop or other location that you store all of your websites in so it’s easy to locate.
- You can ignore the “Initialize this repository with a “README” checkbox
- For the “Git Ignore” dropdown select WordPress
- For the “License” dropdown leave this as “None”
- Click the “Create Repository” button


